The construction process: from pictures to the final boat #4
February 25, 2023
Lamination: Bringing the parts to life
Once Persico Marine received our construction kit (see our previous article), they can finally start to put the plies in the mold. The team has to follow the steps described in the plybook and place each ply one after the other.
In between each sequence (that is each carbon layer), they perform a vacuum. This steps compacts each ply before curing the entire part in its mold in an oven – called an autoclave, which applies intense pressure on the part during curing. The autoclave guarantees perfect compression and thus the absence of air bubbles in a part. Why is this so crucial ? In fact, having porosities creates risks of cracks, which in the end could potentially break the part.
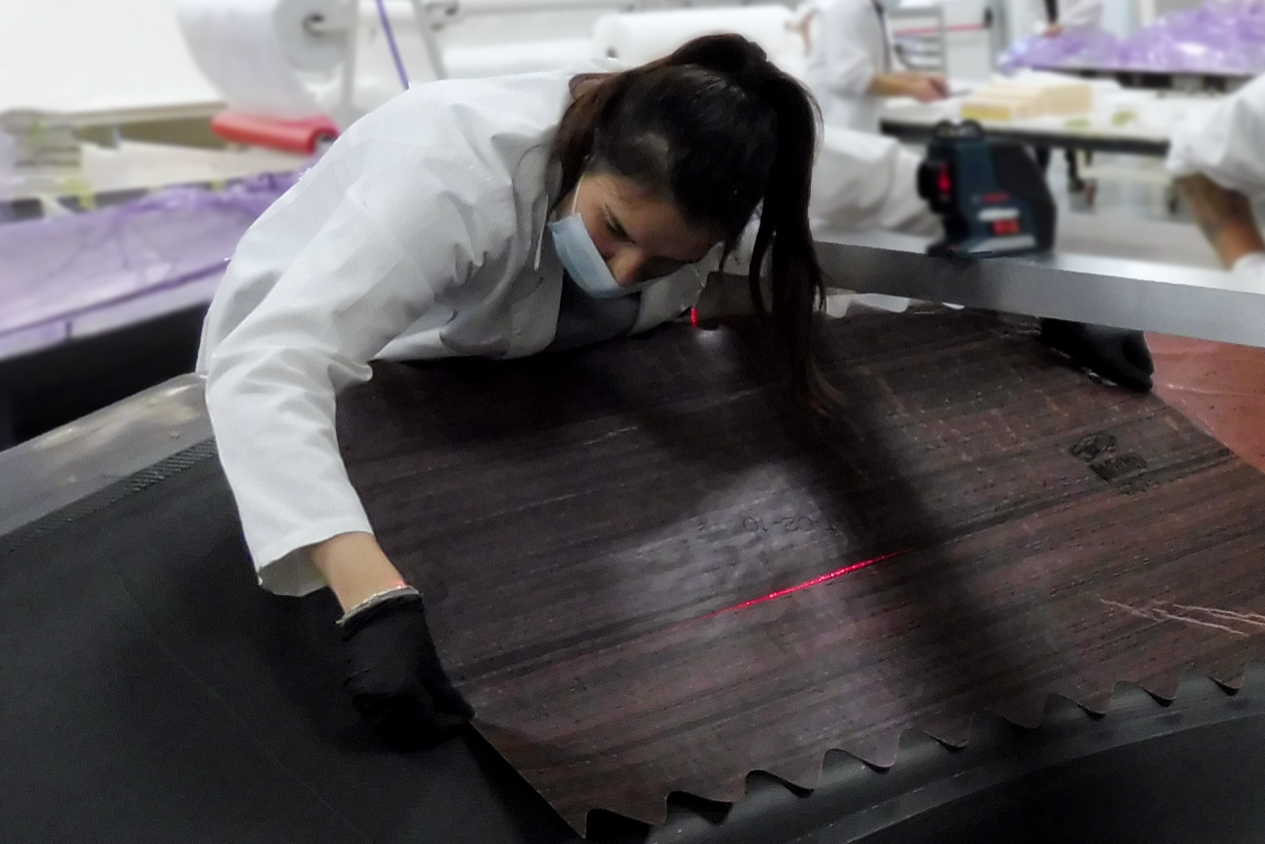
Lamination : the team applies a carbon layer in our mold
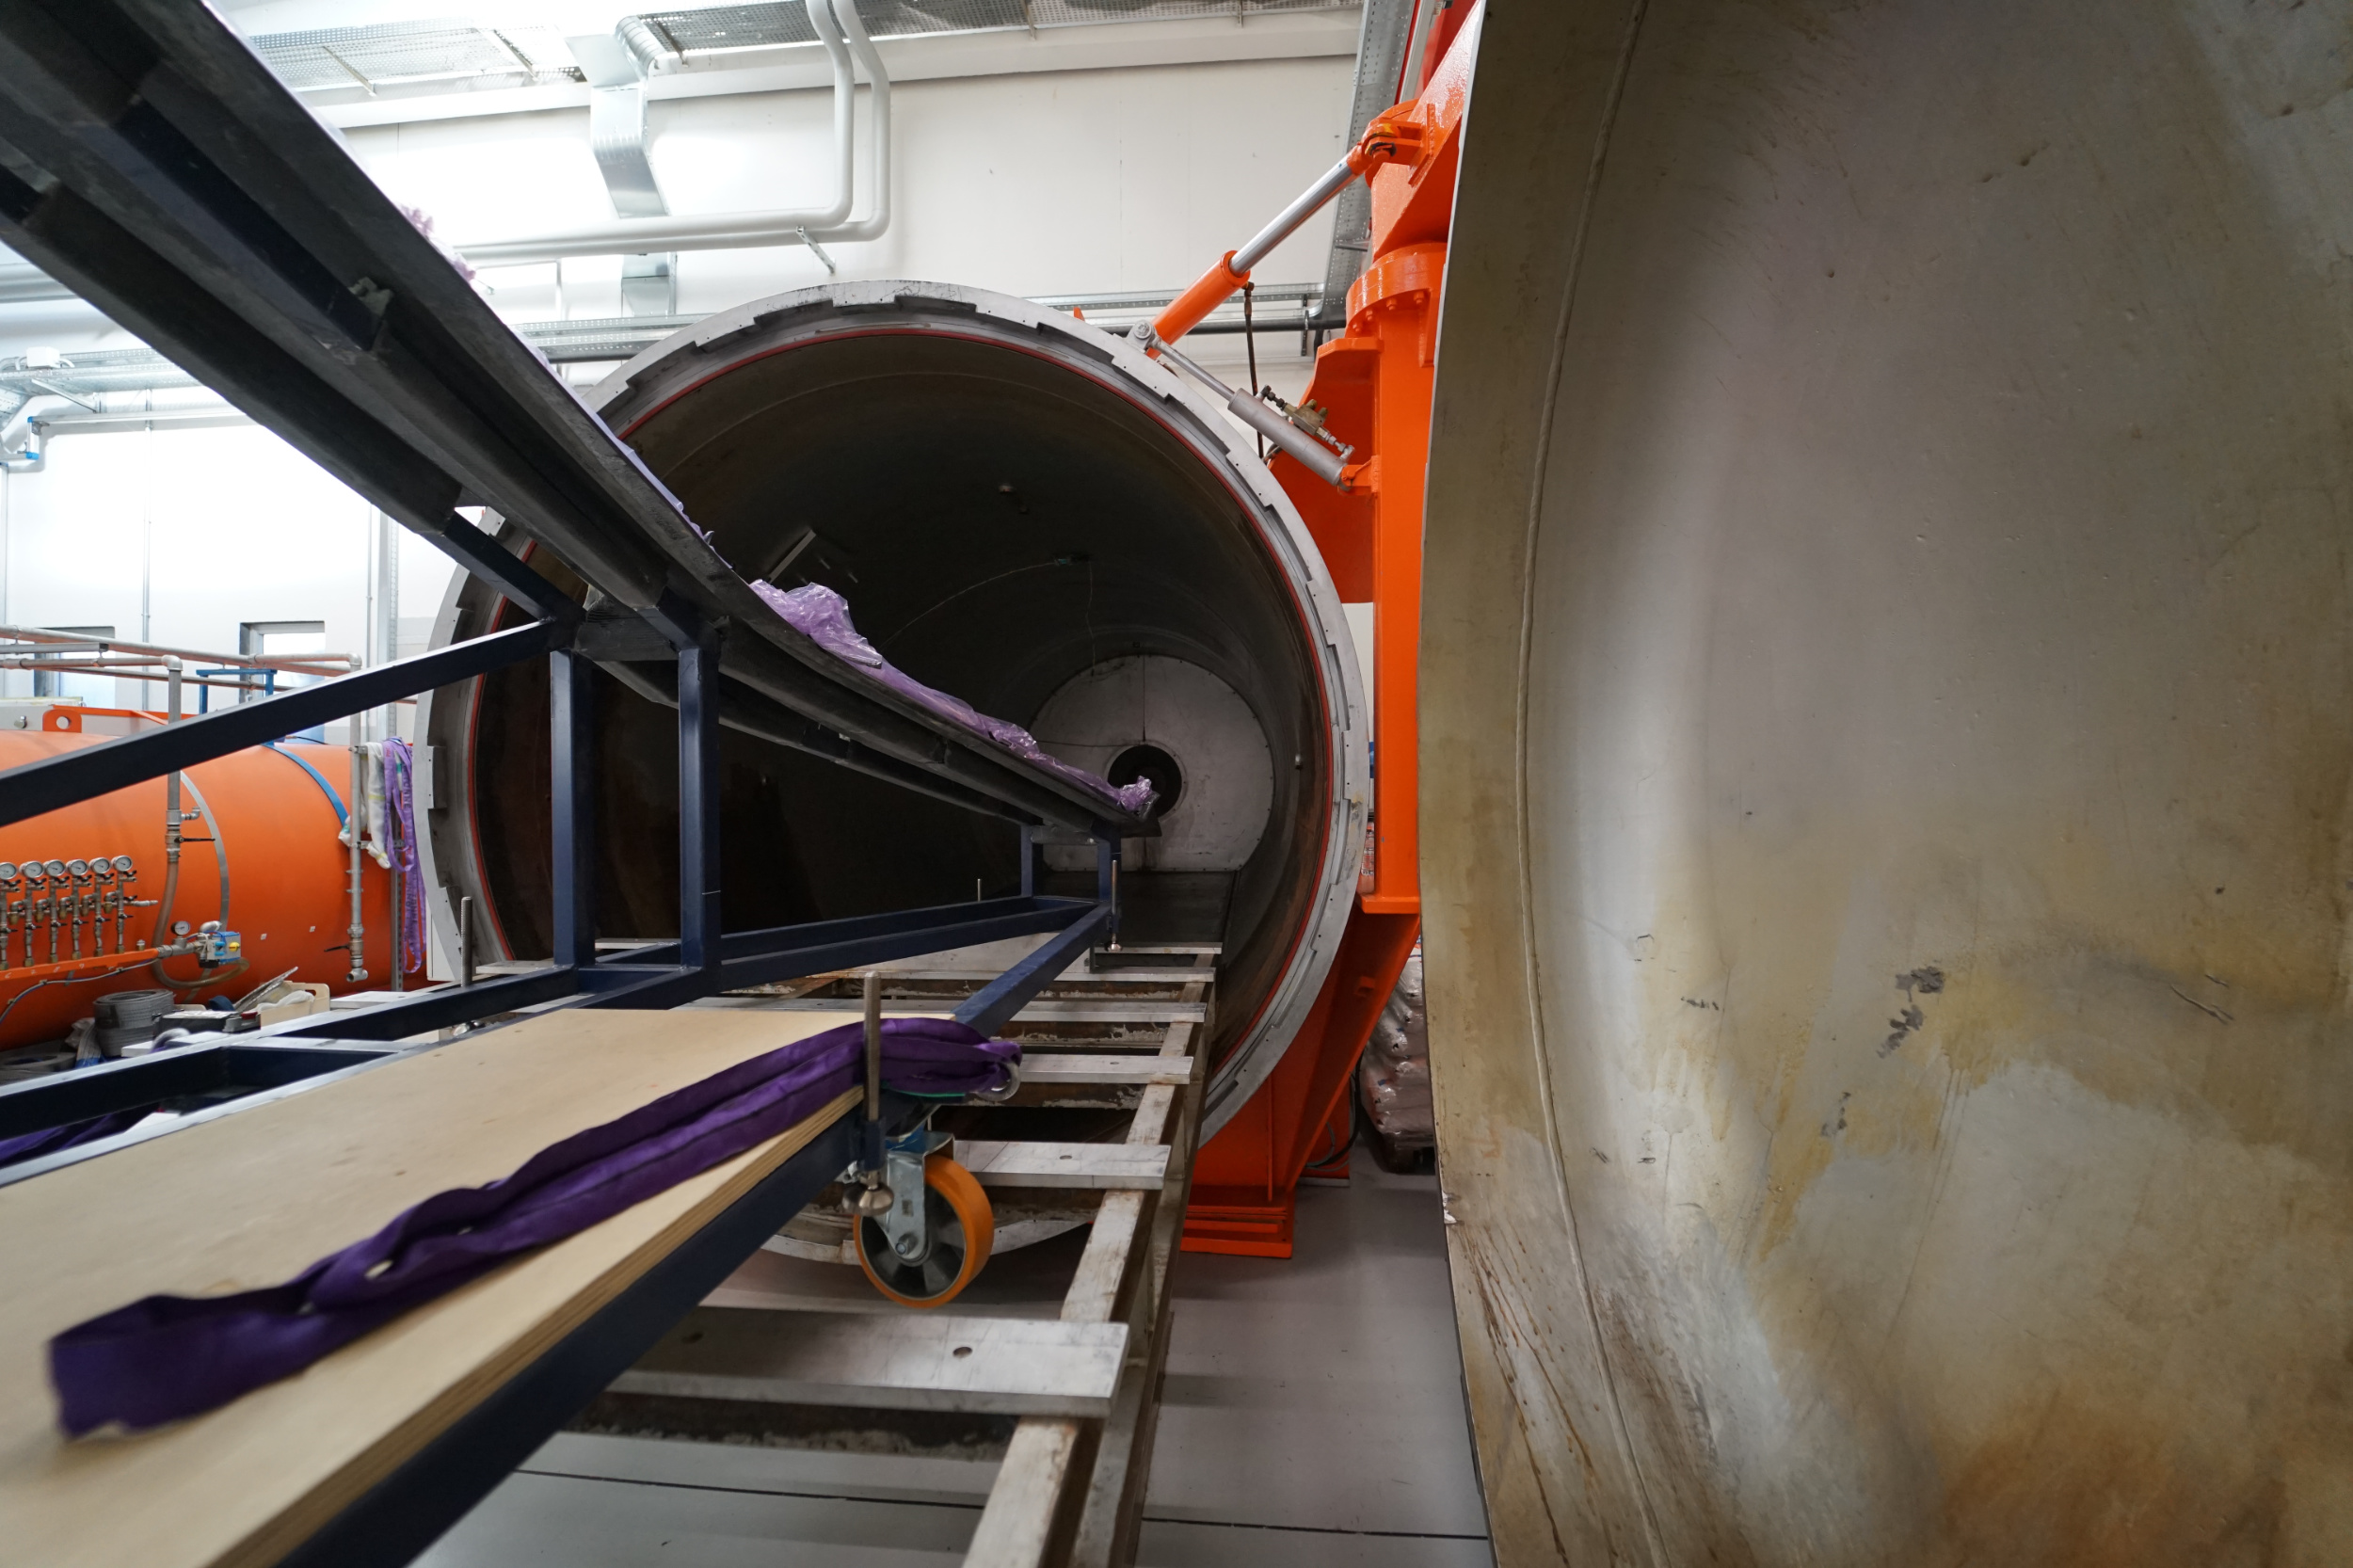
The mold and part of our crossbeam coming out of the autoclave.
Once the first skin (the outer skin) is cured in the autoclave, the foams used in the sandwich structures must be placed.
REMINDER: SANDWICH VS MONOLITHIC STRUCTURE
A part can be made of only one carbon skin (= monolithic structure). However, for some parts of the boat defined beforehand during structural analysis, we use a sandwich structure: a material (often foam) called the « core » is added between two carbon skins in order to have a better rigidity for an equivalent mass.
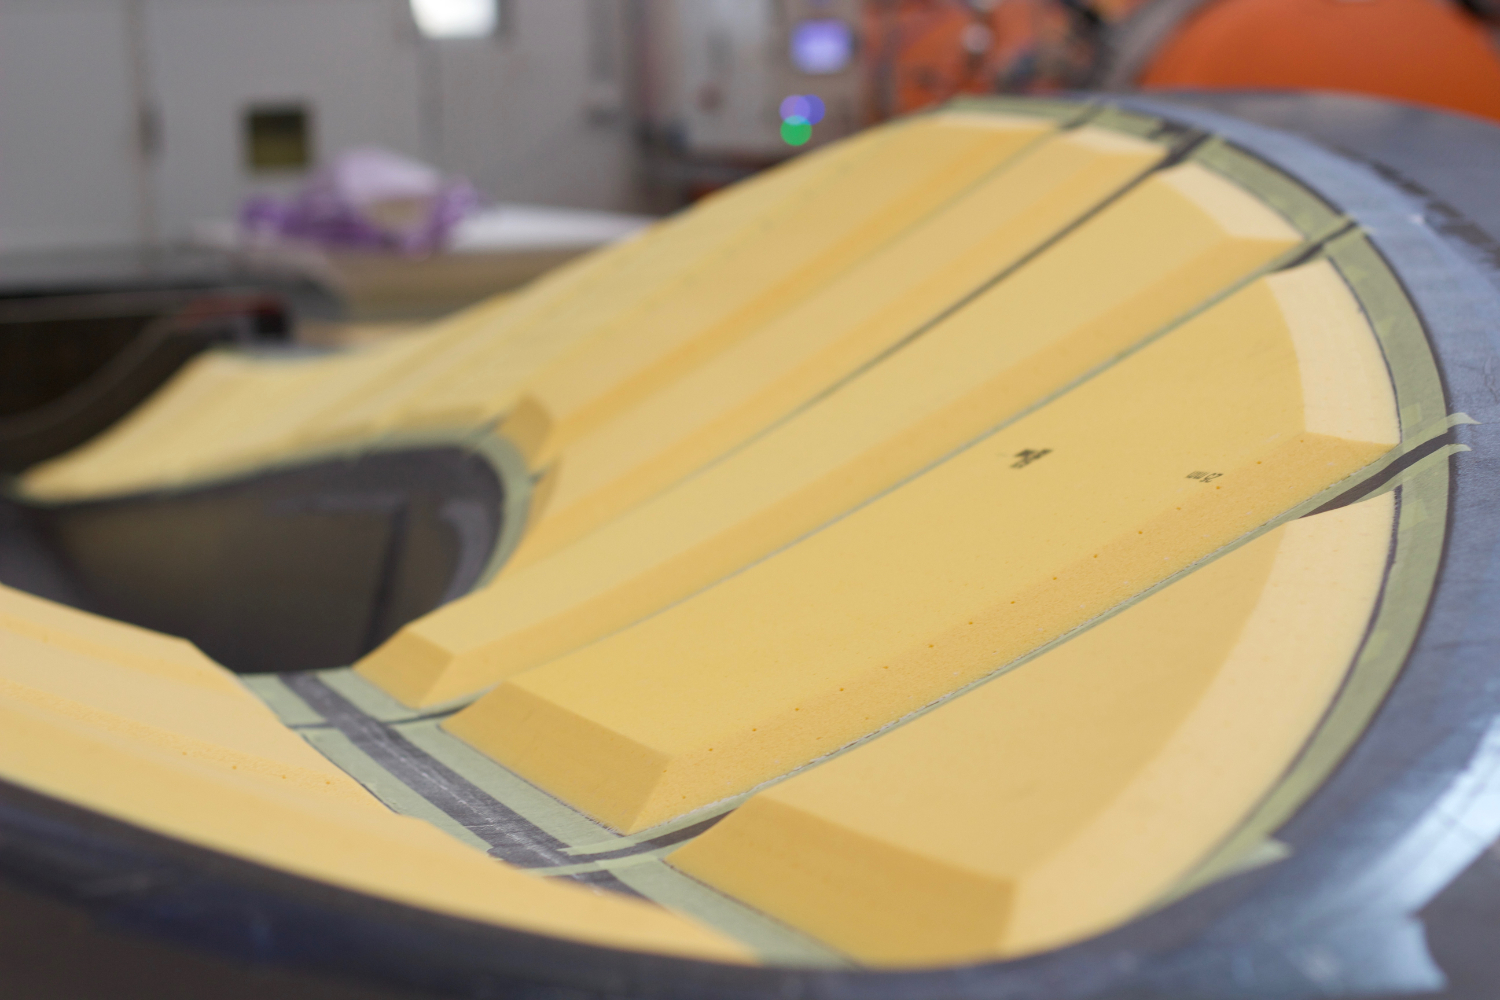
In yellow, the foam applied during the construction of our mainhull
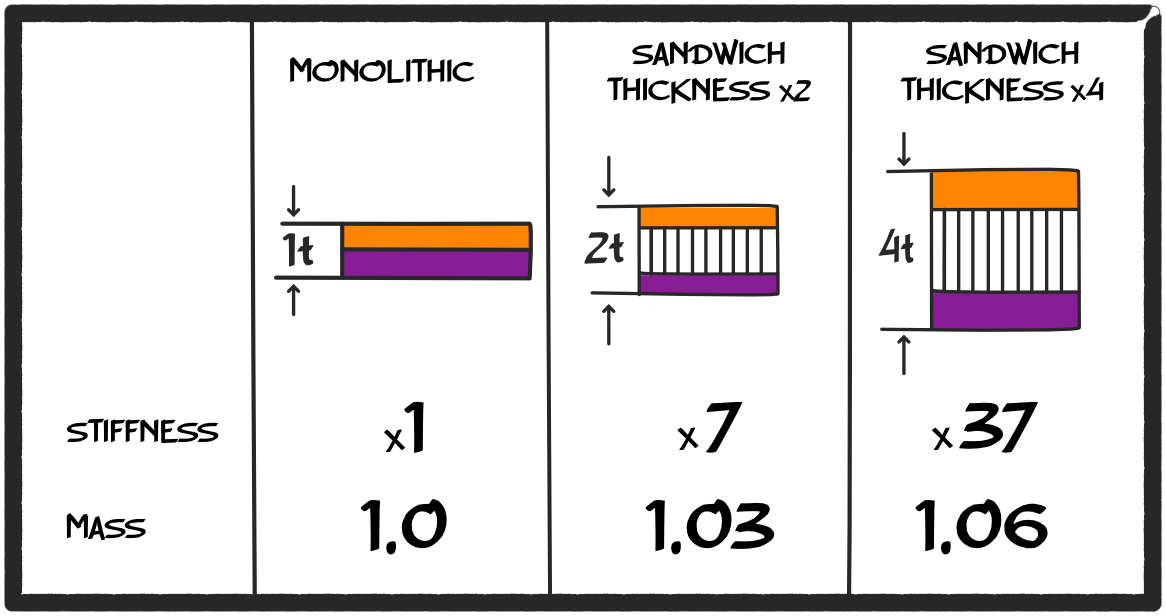
A sandwich structure can greatly increase the part’s stiffness!
These foams are held in place on the carbon by a film of glue. The whole thing is then cured again so that the film of glue hardens and completely freezes the foam’s positioning. Then Persico Marine continues lamination by laying the plies of the inner skin of the part. The following diagram shows the complete lamination sequence:

After a last round in the oven (autoclave), the part is (finally) done!
Then comes the time for control. To make sure that it does not have any particular defects, a non-destructive testing (NDT) is performed. Ultrasounds are sent through the composite, providing information on the structure of the part.
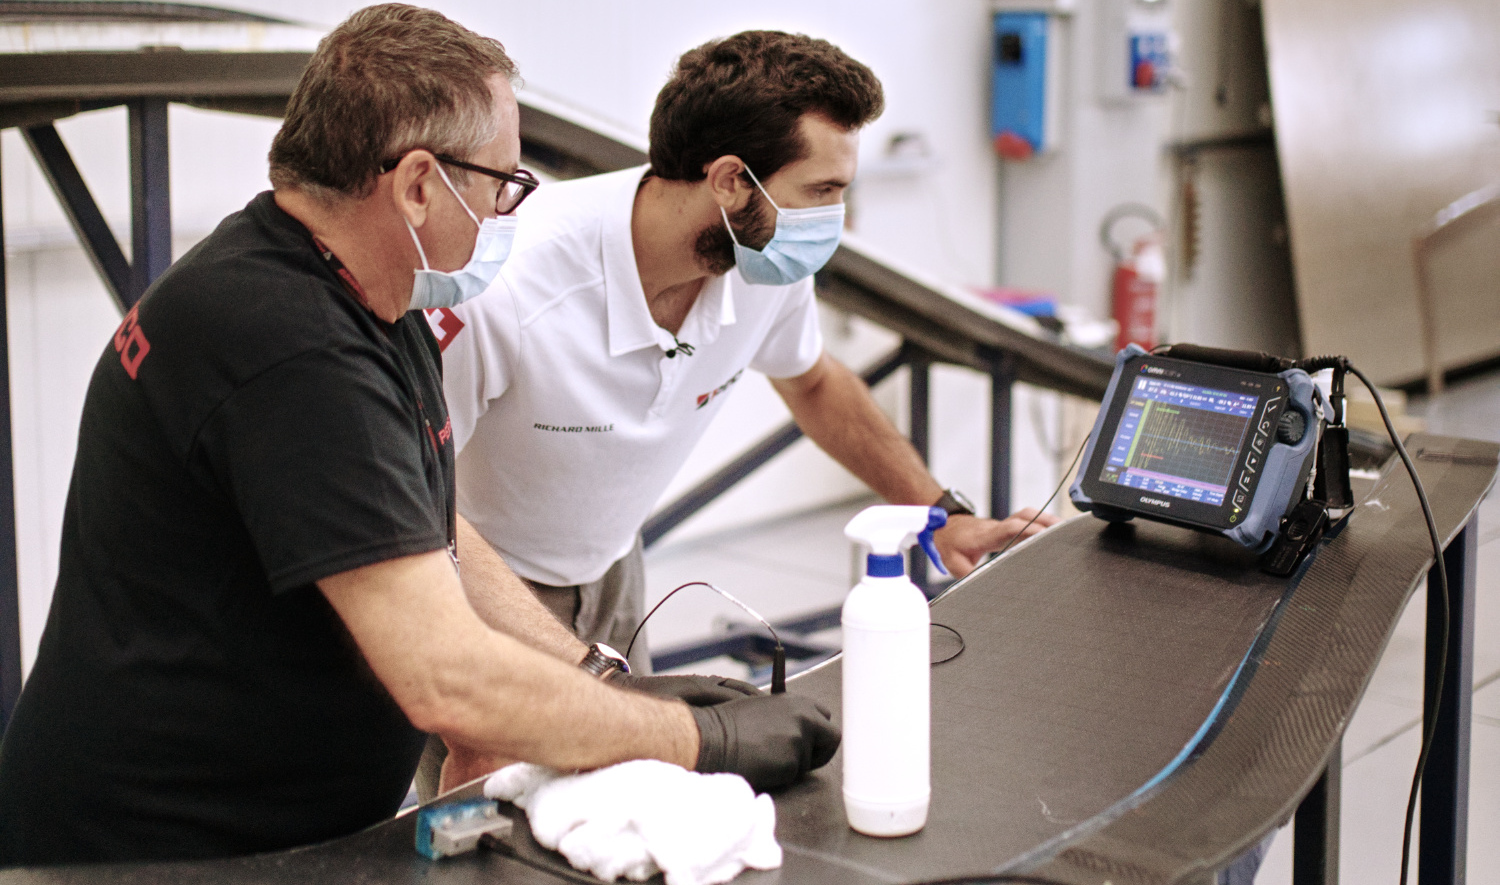
Benoît discovers the part’s non-destructive testing in Italy.
These foams are held in place on the carbon by a film of glue. The whole thing is then cured again so that the film of glue hardens and completely freezes the foam’s positioning. Then Persico Marine continues lamination by laying the plies of the inner skin of the part. The following diagram shows the complete lamination sequence:

After a last round in the oven (autoclave), the part is (finally) done!
Then comes the time for control. To make sure that it does not have any particular defects, a non-destructive testing (NDT) is performed. Ultrasounds are sent through the composite, providing information on the structure of the part.

Benoît discovers the part’s non-destructive testing in Italy.
Discover the construction in video
What’s next?
Once the quality of the part is ensured, Persico Marine performs a 3D scan to obtain the exact geometry of the produced part. This scan is essential for the next step: the assembly of the different parts between them!
Copyright 2025 | SP80 | Tous Droits Réservés

